


How do you make a chocolate bunny?

How is a chocolate Easter bunny made?
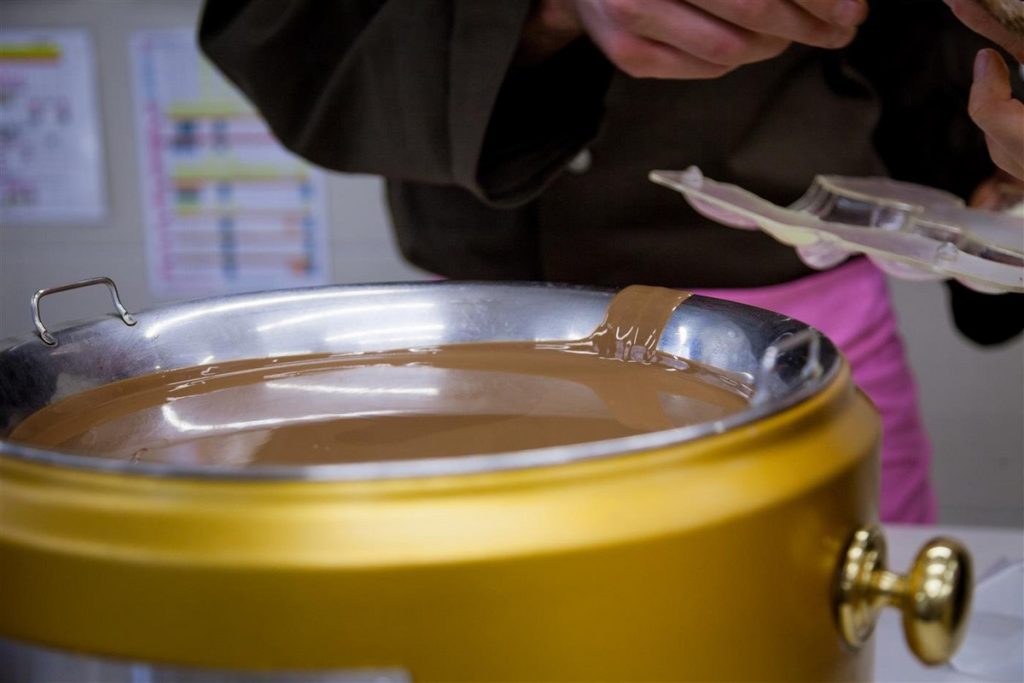
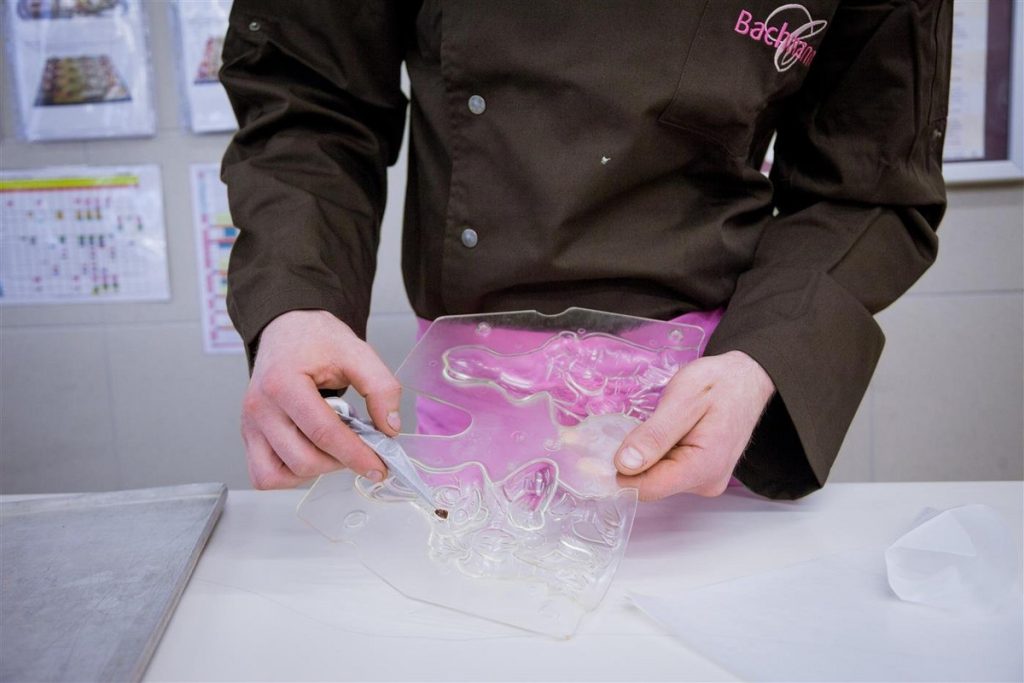
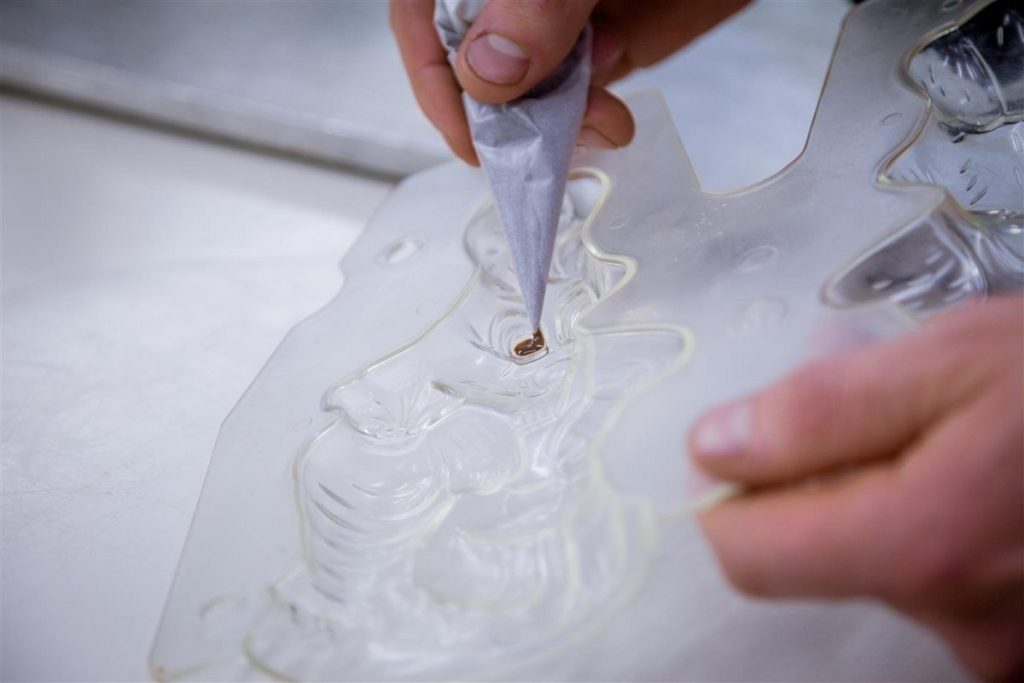
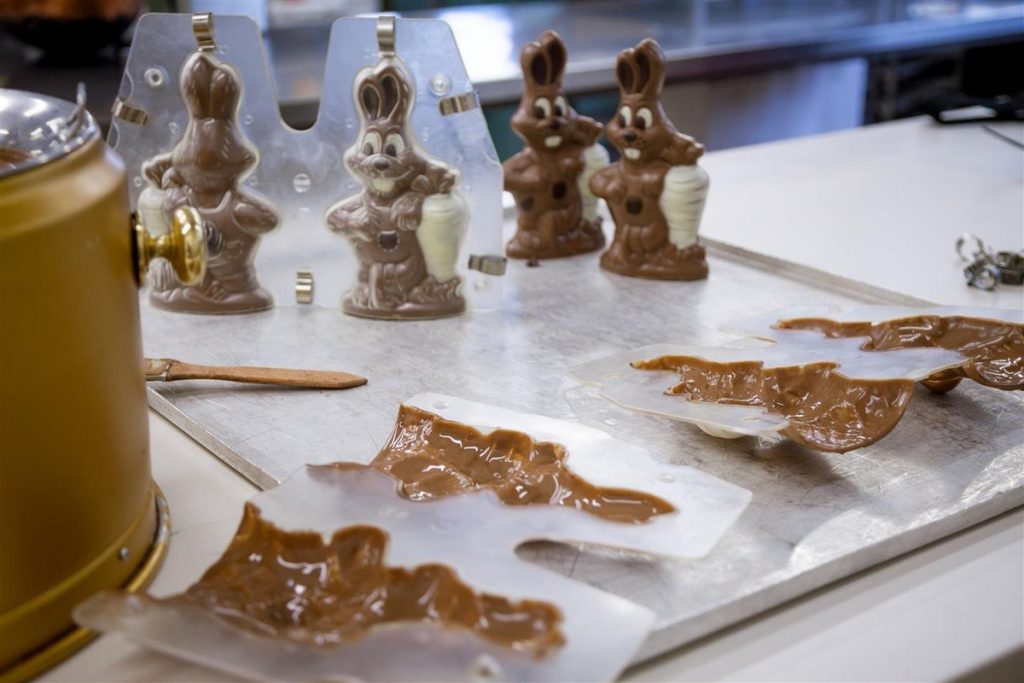
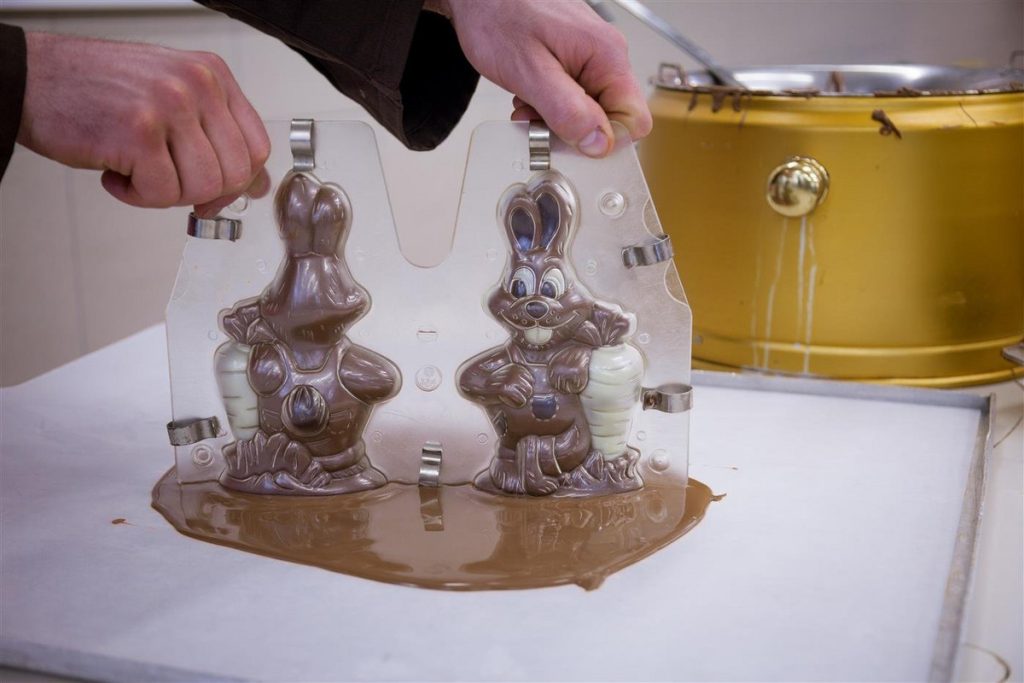
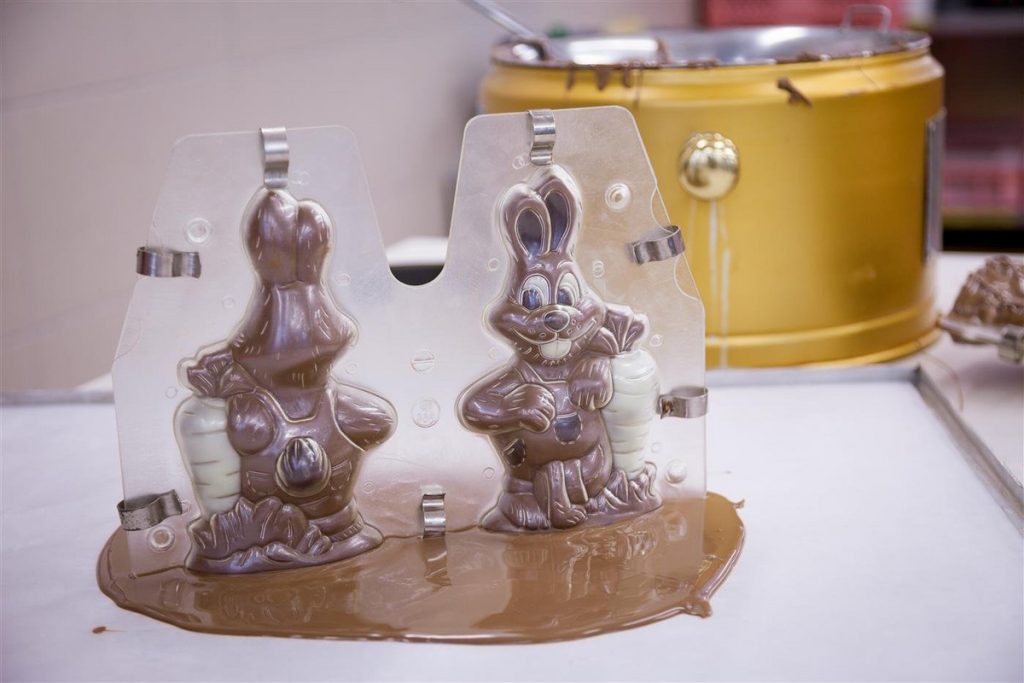
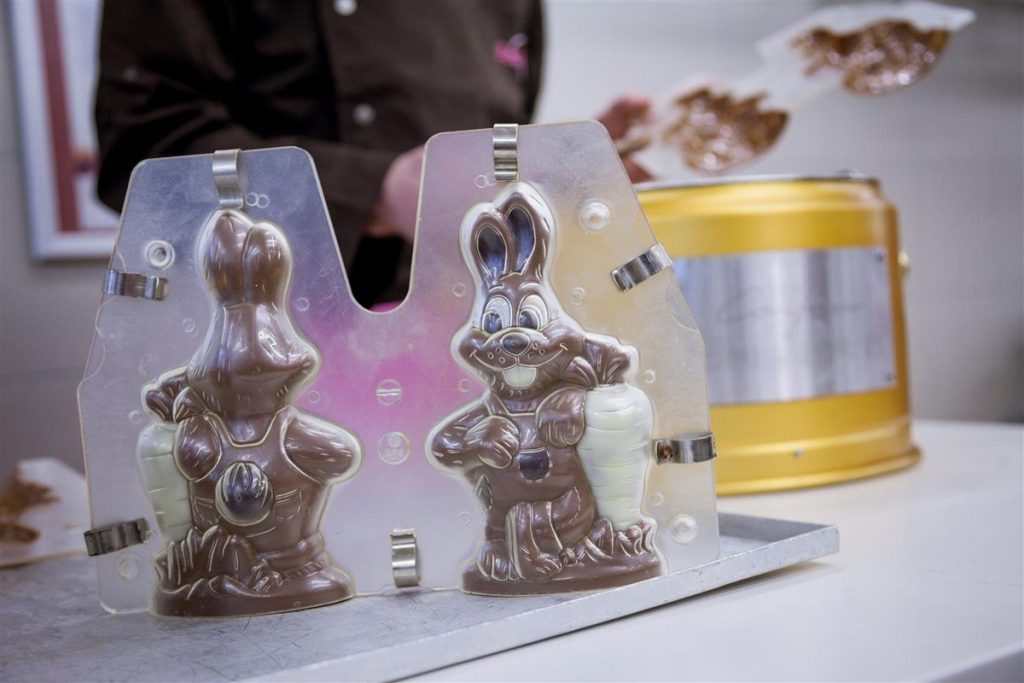
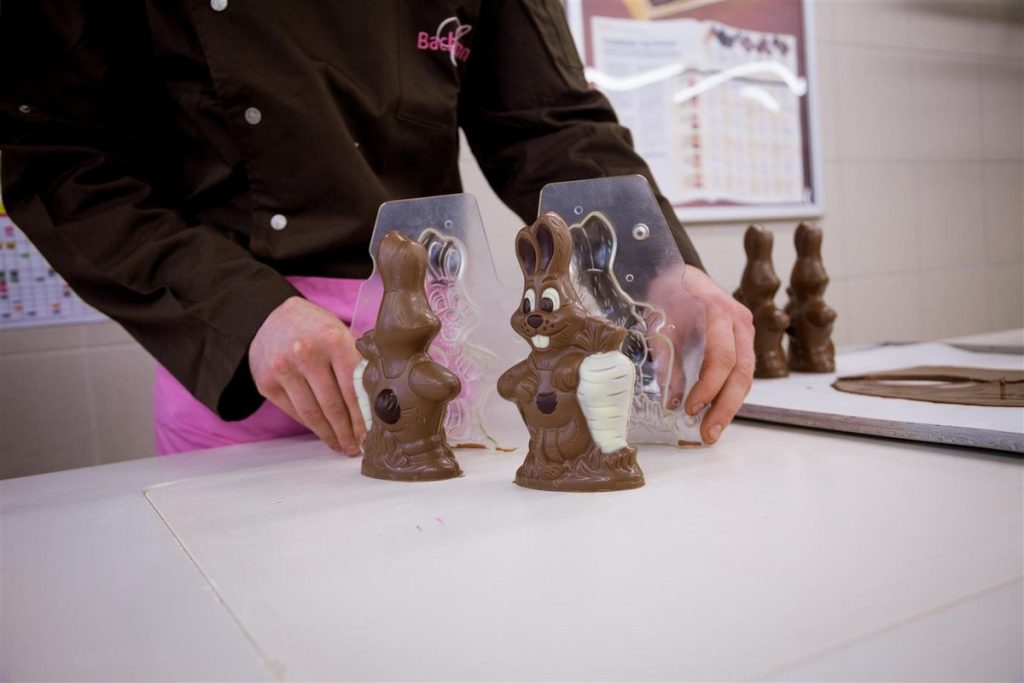
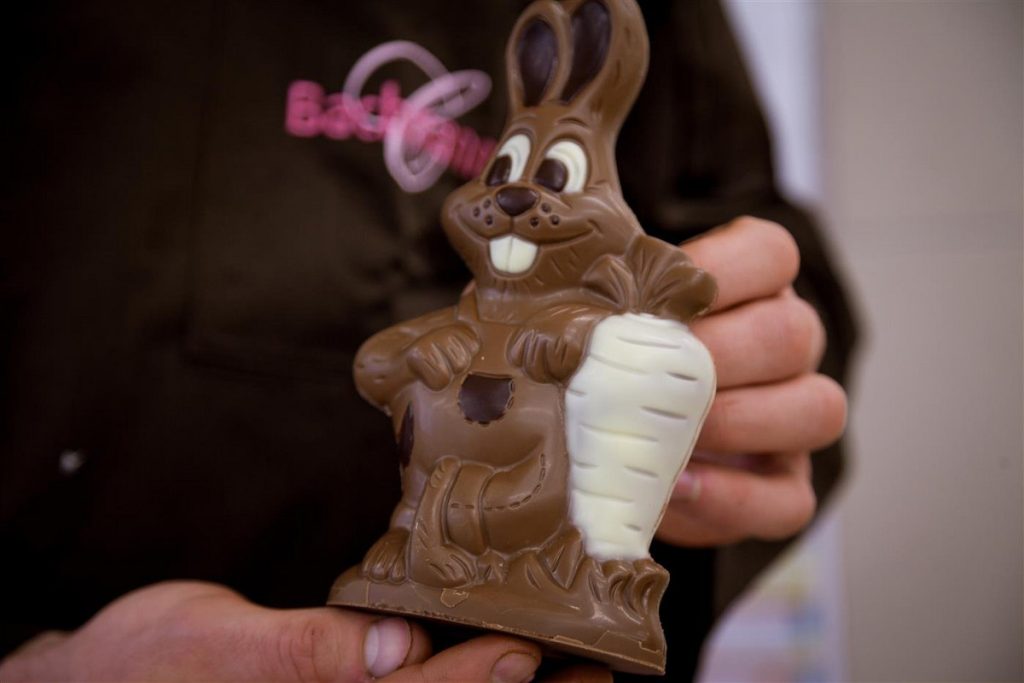
The couverture (technical term for high-quality chocolate) first needs to be tempered (heated up to 45°C, cooled down to 27° and heated up to 32°C) and maintained at 32°C. The two mould halves are cleaned with cotton wool. The Easter bunny gets a face and contours made of white and dark chocolate. In technical terms this work process is called putting on makeup.
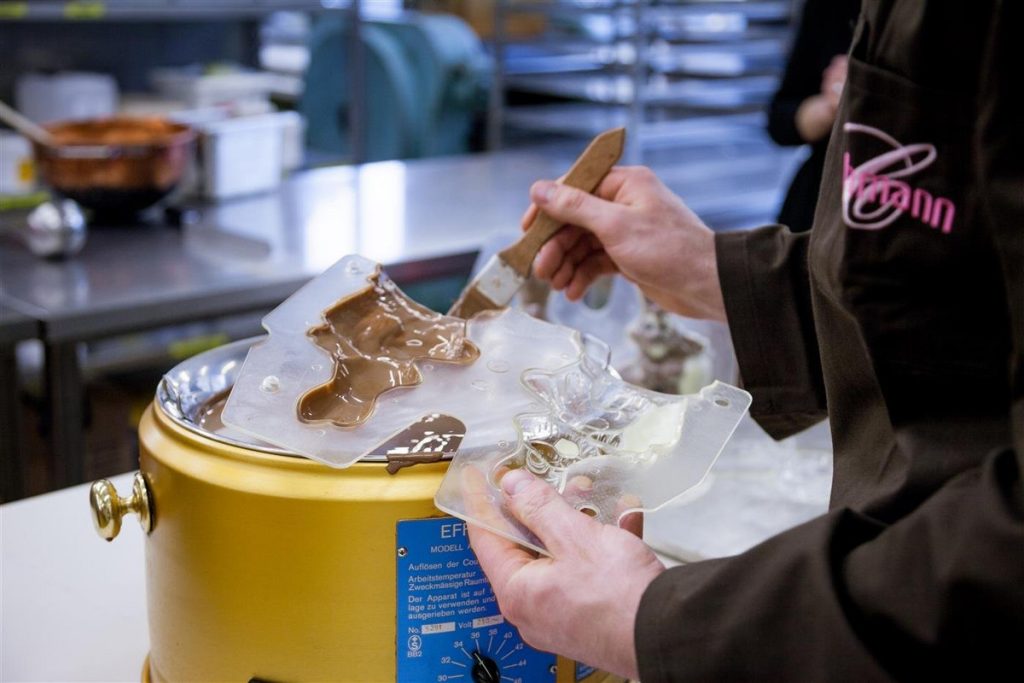
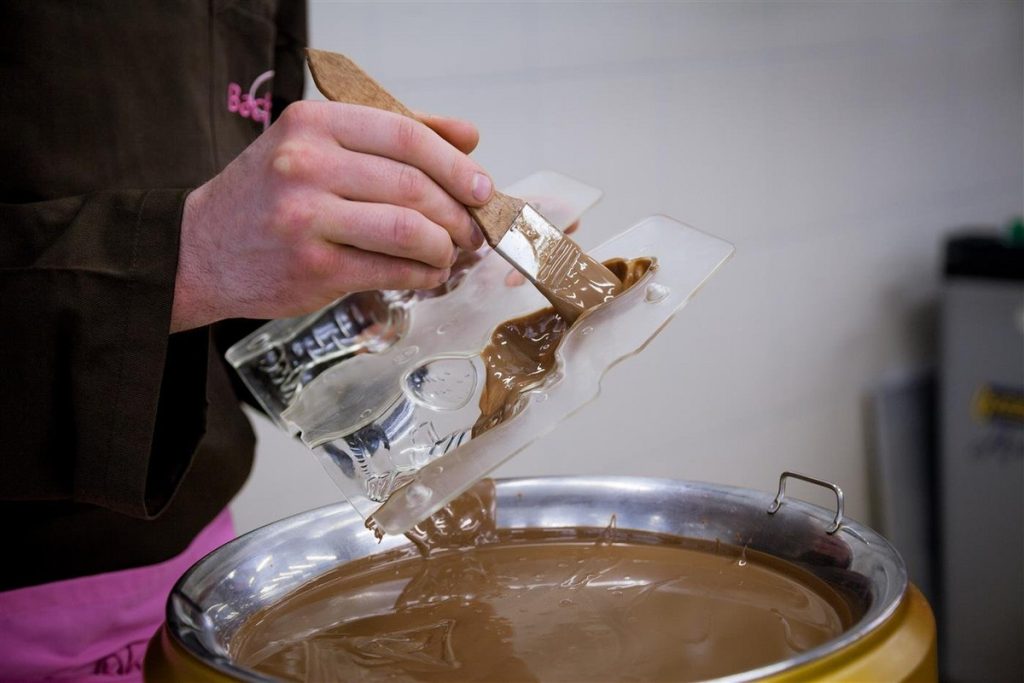
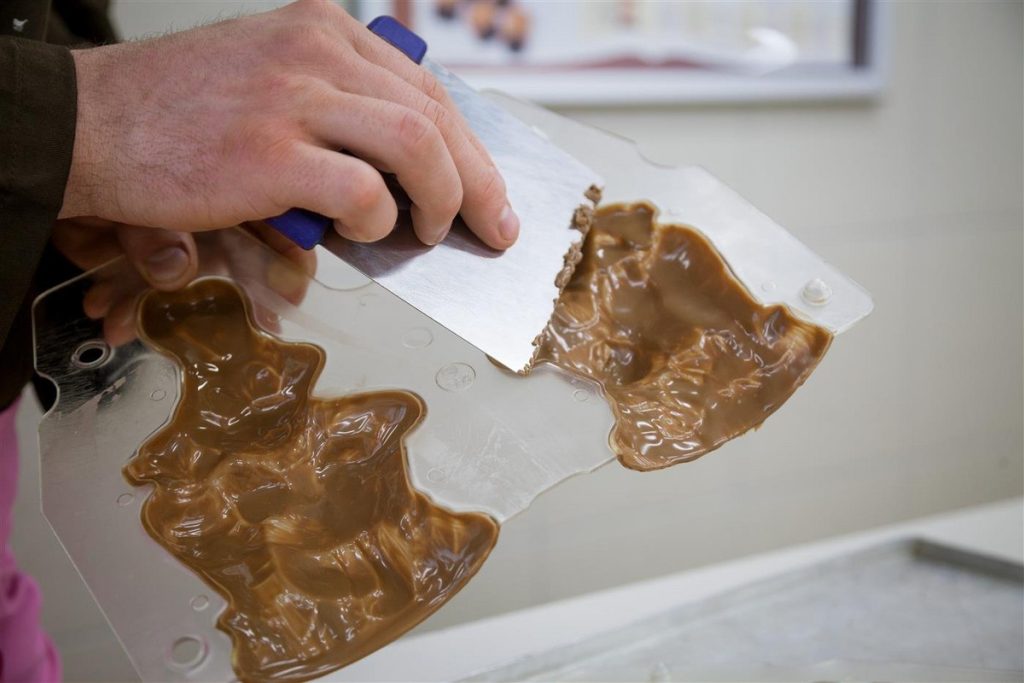
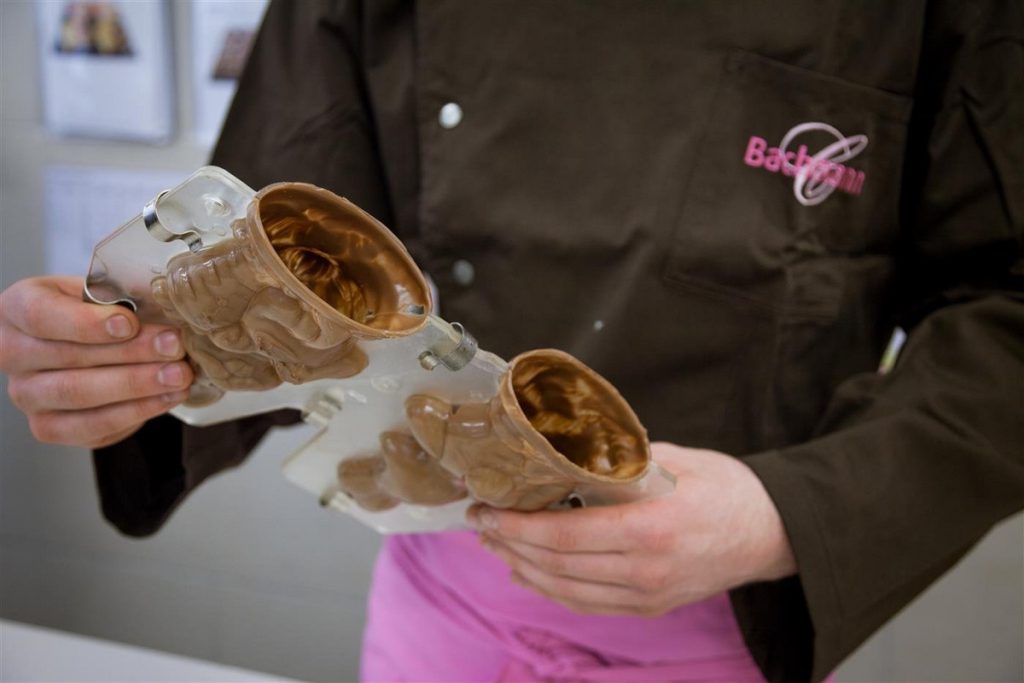
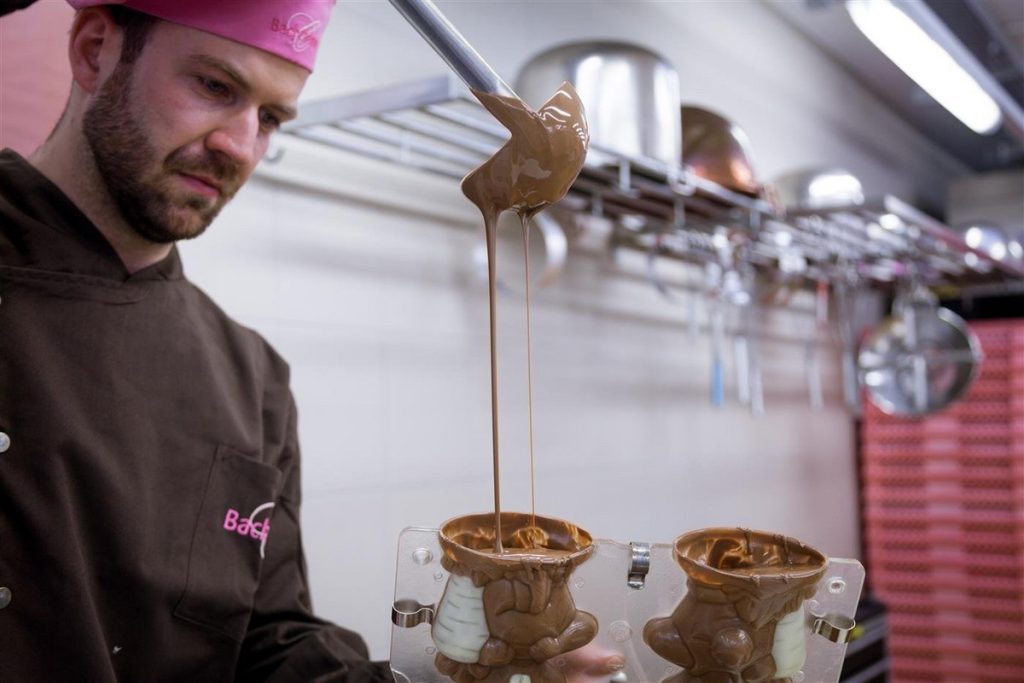
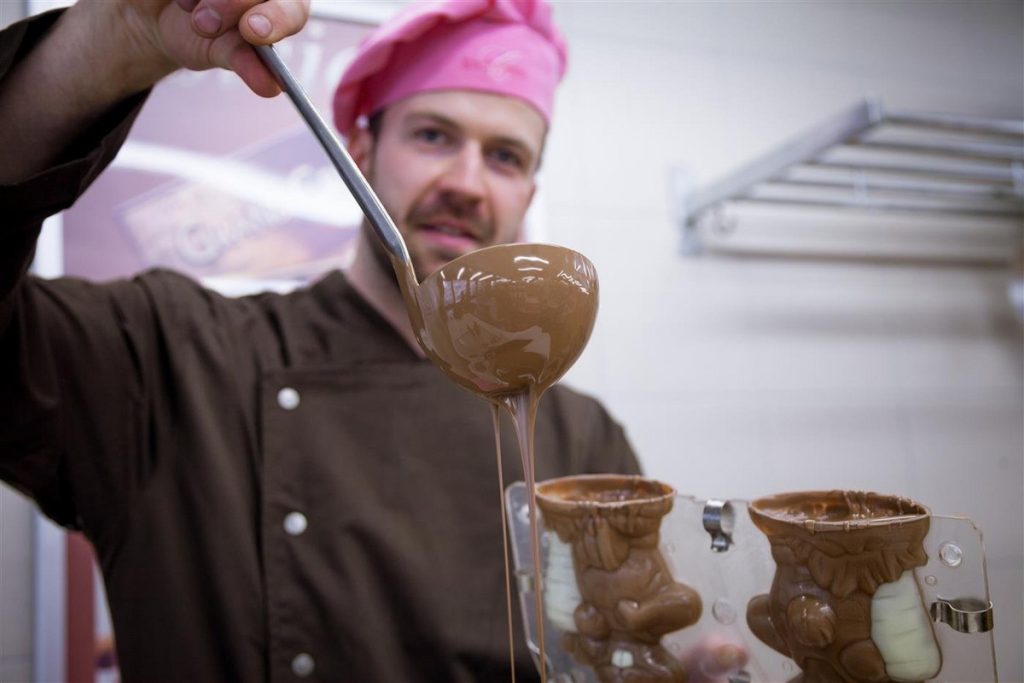
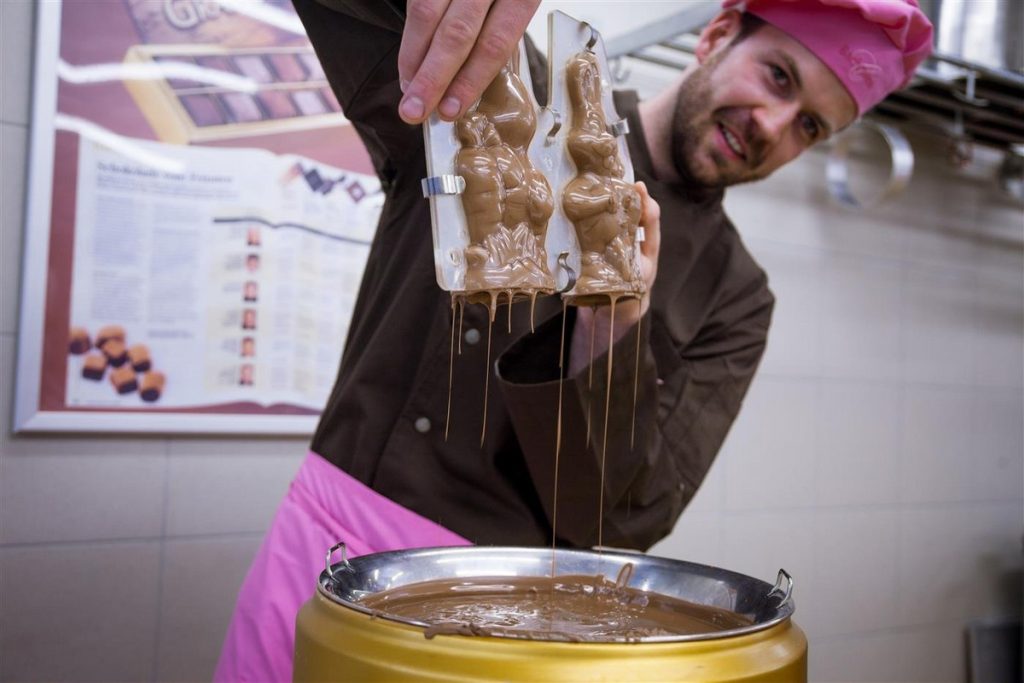
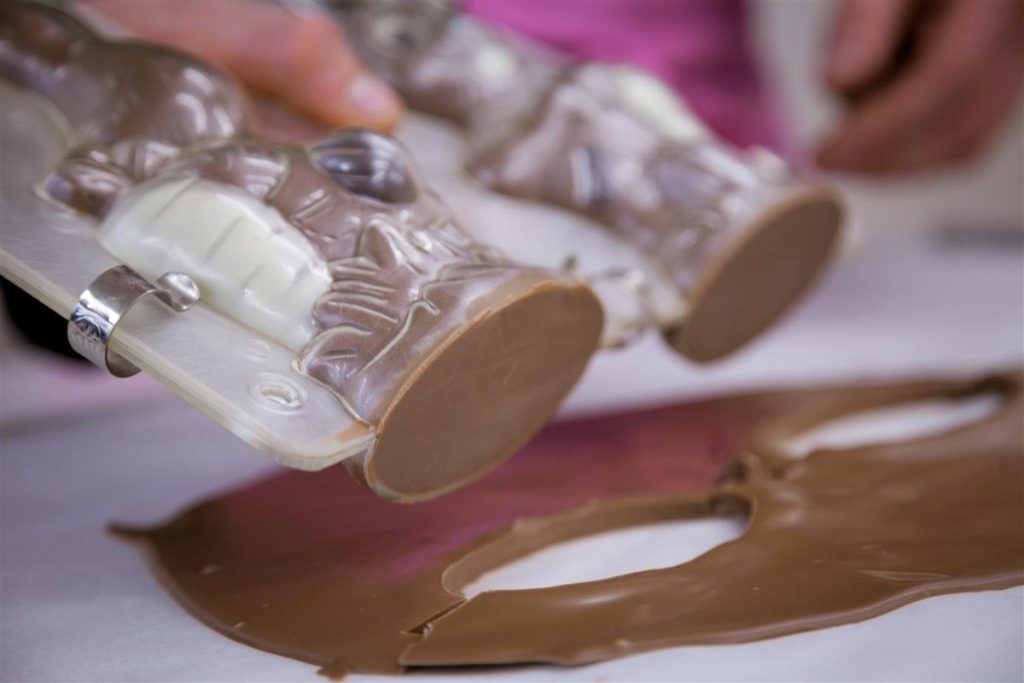
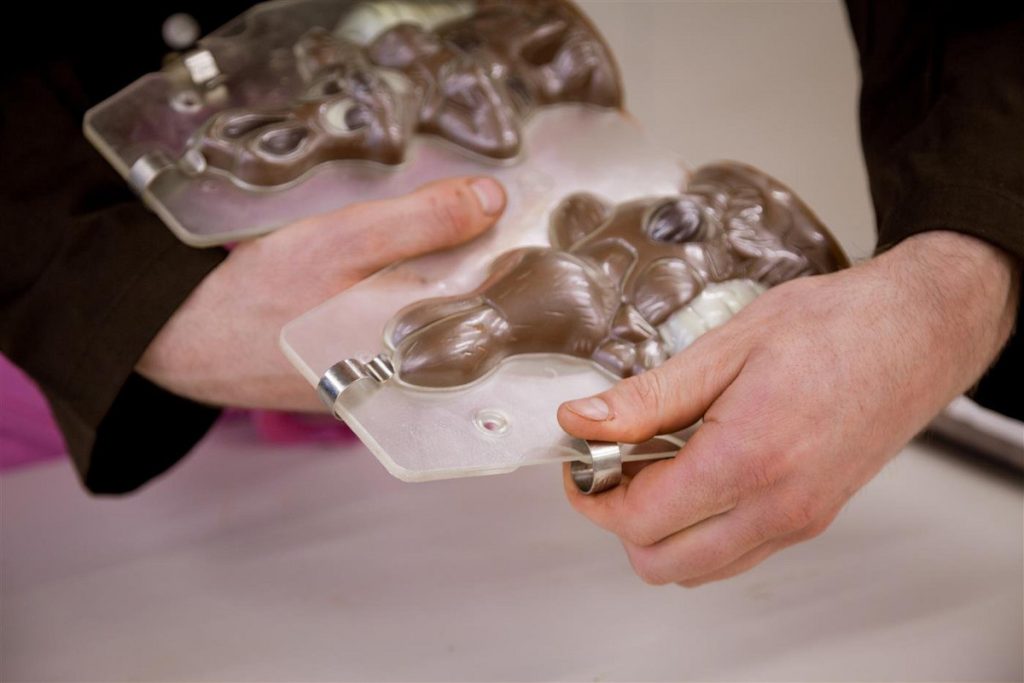
The next step in brushing. This makes sure that even the smallest crack of the mould is filled with chocolate. As soon as both sides are brushed, the two mould halves are joined and secured with clamps. Now the actual moulding process begins. With a ladle the liquid chocolate is poured in up to the upper rim, only to then be immediately emptied again. The mould is tapped in order to avoid the formation of air bubbles on the surface. This moulding process is repeated 2-3 times, whereby a tenderly melting, thin layer of chocolate is formed.
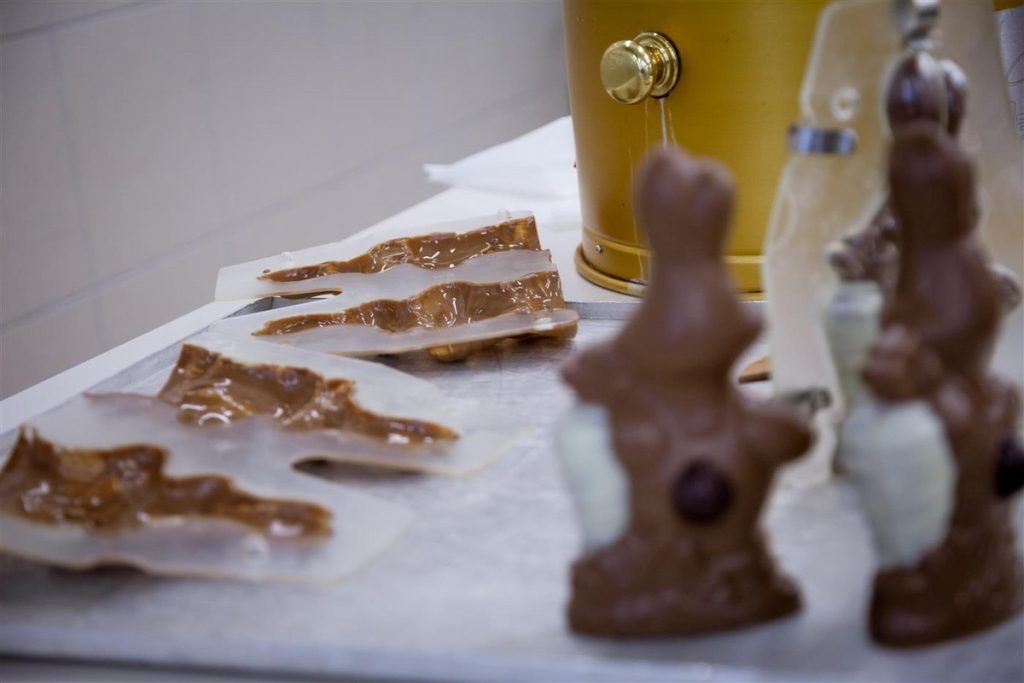
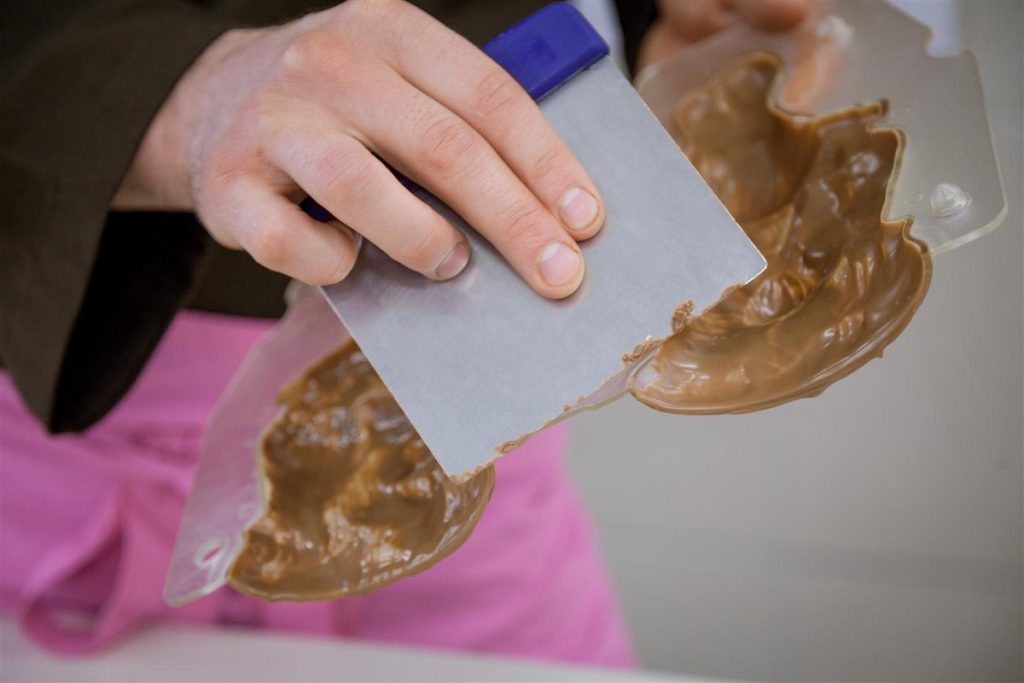
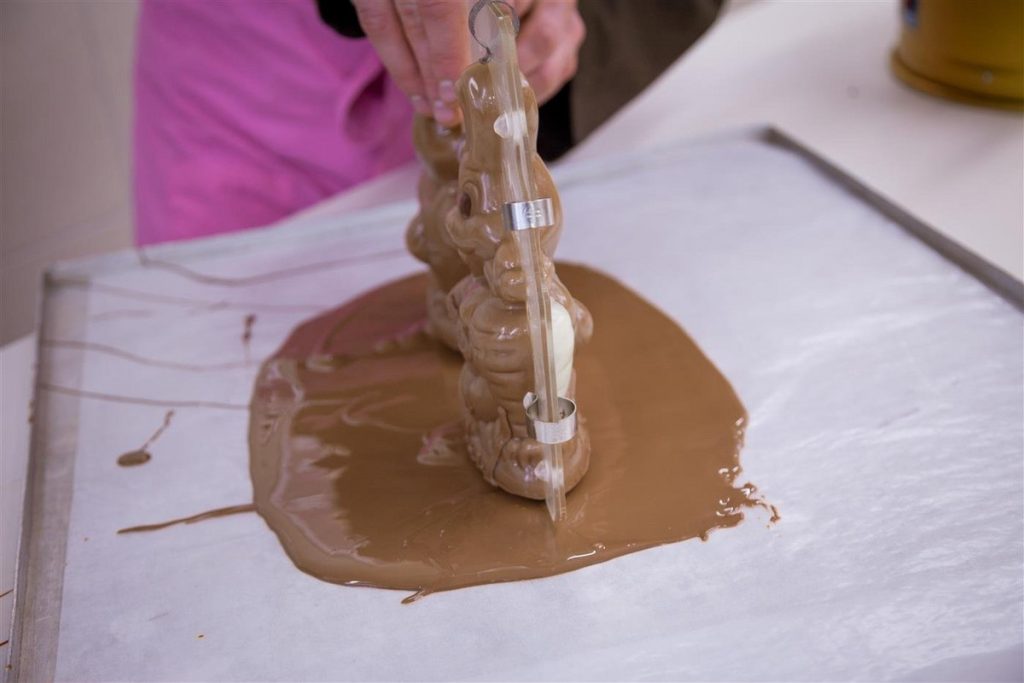
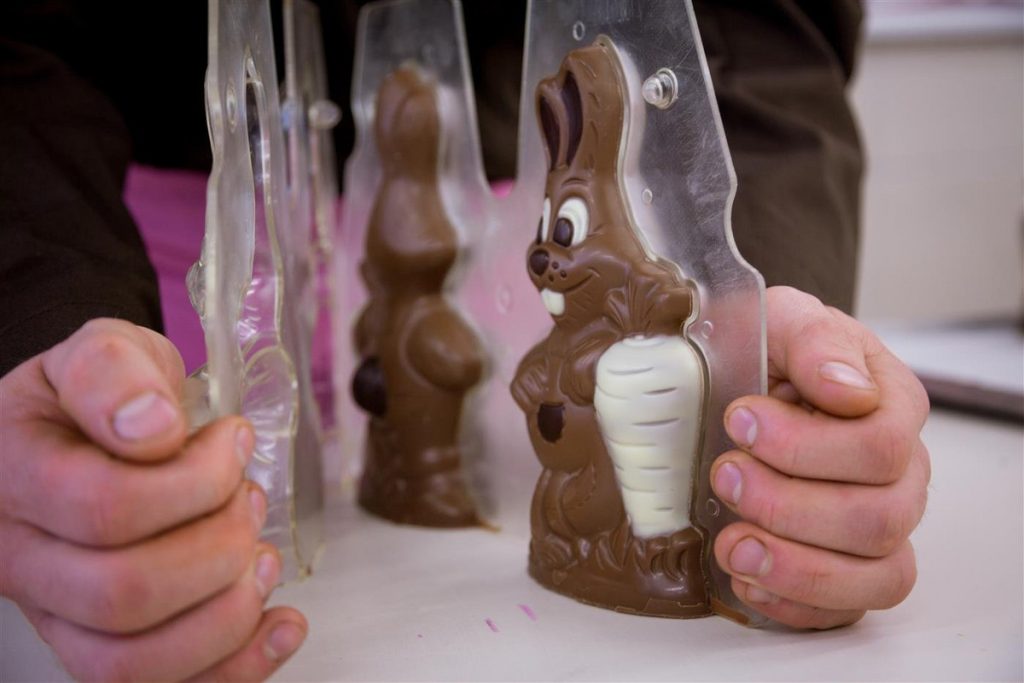
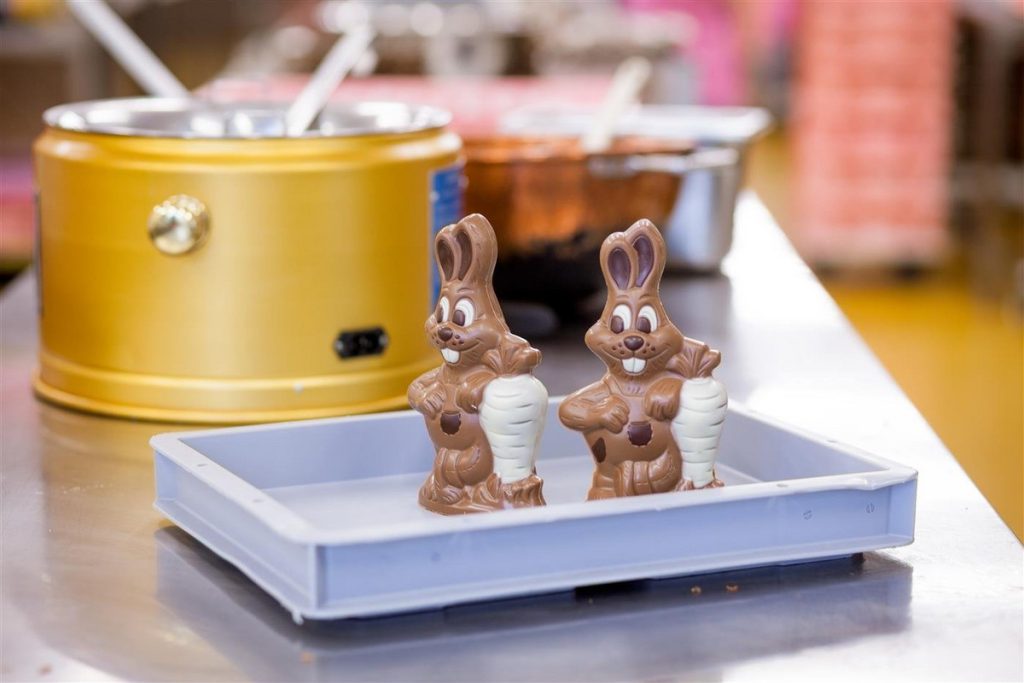
The mould is now placed onto a table lined with paper in order to let the excess chocolate drain off. The chocolate at the bottom of the mould is scraped off. To form the bottom, couverture is poured out onto a flat surface and evenly spread. The mould is now cooled at ca. 10°C. All clamps are removed while the mould is still being cooled until the chocolate bunny has completely come off the mould. After about 30 minutes the Easter bunny can carefully be removed from the mould. The bunny slips out of the mould and comes to life. With great care the finishing touches are added to the Easter bunny, maybe perfect its eyes, tie a bow around its neck and decorate the basket with sugar eggs.